09 January 2020

The Fairy Glen - Mystical Isle of Skye (Repost from Steemit)

This is part two of two; of the reposted series from my Steemit site. Here is the link to part one: So Many Castles, So Little Time - Castles in Scotland 2017


The Isle of Skye, Scotland is home to many interesting and dramatic sights/sites. Whether, castles, waterfalls, mountains, beaches or Glens. You could spend a very long time on this little island and still not see everything. The Fairy Glen is quite famous. So, we wanted to see it for ourselves.

Having misplaced our Lonely Planet guidebook, we had to use the old fashion method of finding what you seek....ask a local. The friendly staff at The Skye Museum of Island Life were able to give very good directions. We needed to return to Uig and just beyond the Uig Hotel was a road for Balnaknock. About 2 miles down that road would put us very close.


A short walk from where we parked the rental car we saw the loch beside the road and saw the path on the far side. A short hike up (to the right of the butte) and you are at The Fairy Glen. As one photographer in the area told us, the whole area is part of The Fair Glen, but the more photographed area was behind the butte.


As you crest the rise into The Fairy Glen you immediately notice the plethora of small stone cairns, built by visitors to the glen.
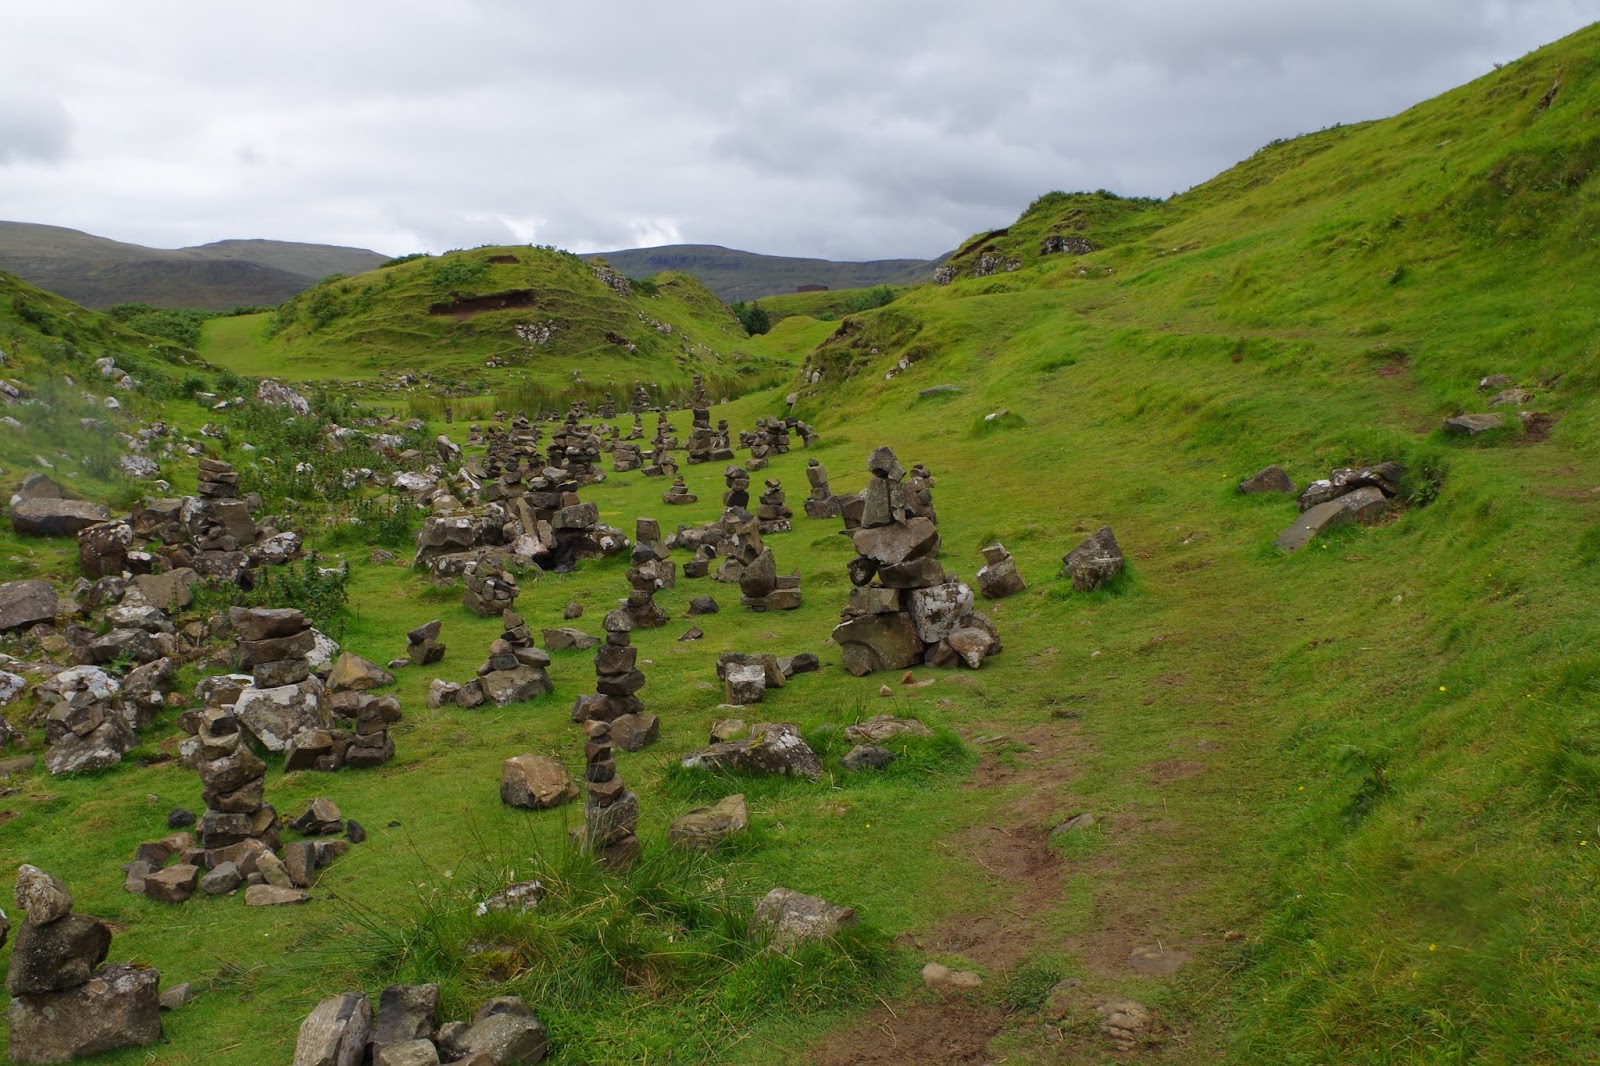

Sorry, for the spots on my lens, but it was raining while we were visiting The Fairy Glen. This is a very magical kind of place. I am not sure is Wicca is still practiced, but it would not take much imagination to see a place like The Fairy Glen being chosen as place to honour Mother Earth.


I am not sure of the history of this place, but I can say it is very ancient. Stone walls abound, but they are so old that the ground has grown back over these man-made structures. Once I returned home I used Google Map - satellite mode, to look around The Fairy Glen, there are many foundations, walls and old crofts in the area. But, these structures are much easier to recognize from the air than from the ground. To experience mystical things you must travel to mystical places. Enjoy your journey.


I hope you enjoyed some new material and new photos. Please, if you copy and share these images just add a link back here to Mountainman's Mantra; so, folks can visit the originals for themselves. I am all for sharing pictures; lets just recognise the original source.

Until next next...see the world for yourself.
And, bring home photos and memories!

Mountainman.

So Many Castles, So Little Time - Castles in Scotland 2017 (Repost from Steemit)

This will be the first of two blog posts I originally posted on Steemit. The pictures are nice and worthy of sharing with everyone. I meant to do this reposting a long time ago. So, without further ado...


During my recent visit to Scotland, I had the very distinct pleasure to photograph many castles, kirks, crosses and other buildings of interesting architecture. I will include a few images that really turned out well, in my opinion.

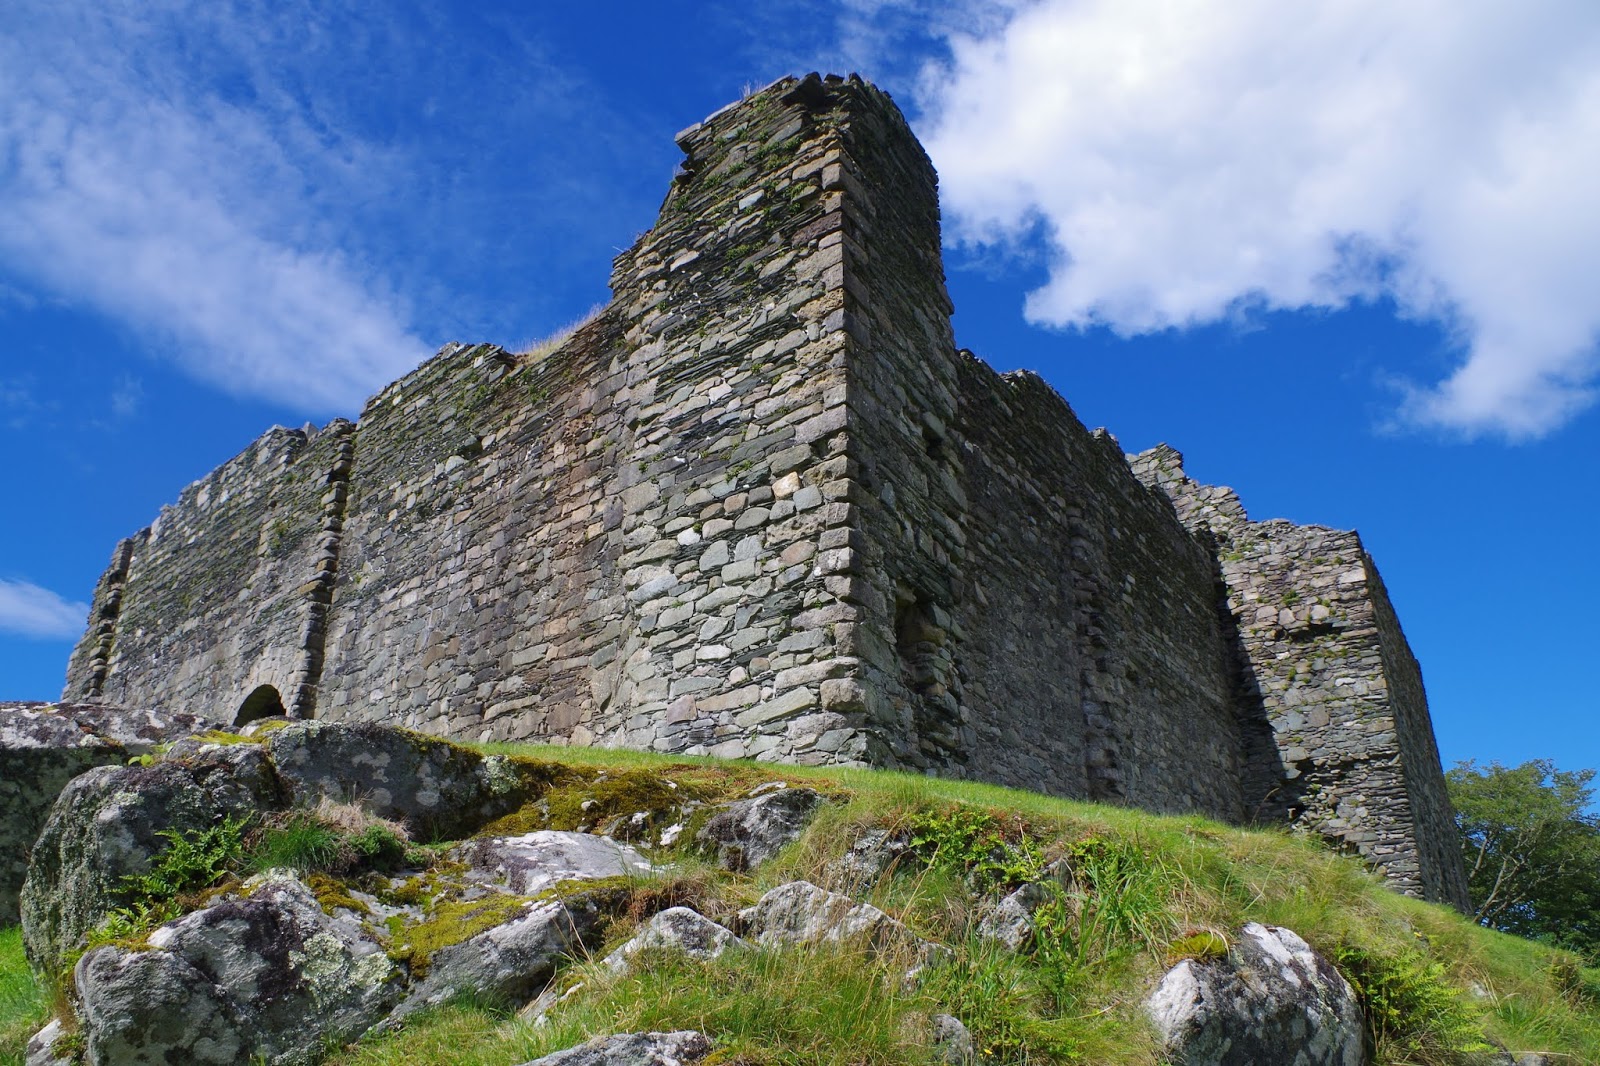
The first image is of Castle Sween, on the shores of Loch Sween, Knapdale, Scotland. And here is another view of Castle Sween.


The rounded tower is called the Sween Tower after the Danish Prince Sween who is believed to have had this castle build in the 11th century. Making this one of the earliest stone castles built in Scotland, I have heard it said it is the 6th oldest, but I do not know that with any certainty.

The next castle will be recognised by more of you, this is the Edinburgh Castle, in Edinburgh, Scotland.


This was taken the morning before we attended the Royal Edinburgh Military Tattoo. Which is a must see event each August. If you want to see the Tattoo, you should order your tickets early, they do sellout fast.

Next, we have a cool shot of the Edinburgh Castle during the Royal Edinburgh Military Tattoo of the Lone Piper, playing with the castle cloaked in blue light.


I will finish with a couple photos from Dunnottar Castle, near Stonehaven, Aberbeenshire, Scotland. It took three journeys to Scotland before I was able to make a visit to this wonderful marvel of old world engineering.


Dunnottar Castle would have been a very difficult castle to attack as an invader - either by land or sea. There are no beaches and terrible rocks to rip out a ship's haul. The land route is no easier. Only one skinny finger of land joins the castle to the mainland.


I will make another post in the near future. I would like to clarify these photos are here to share the beauty of Scotland and her castles. For those, who cannot resist copying these images, I only ask that you credit those images to me and have a link to the source - here on STEEMIT. Otherwise, uncredited copying will be viewed as infringing on the copyright.


Of course, if you are seeing these photos for the first time here on Mountainman's Mantra; please, let others know where you found these photos. I am all for sharing great photos, just acknowledge the source and give credit where it's due.

Until next time...take a trip and bring home awesome photos!

Mountainman.

27 December 2019

Tactical Flask Pouch

Tactical Flask Pouch - Front View

Pre-Filled Flask in Tactical Flask Pouch
Time for one more project for 2019, a Tactical Flask Pouch. This was both timely and practical. Imagine my luck to find flasks at my local liquor store that were pre-filled with Rum!?! A friend of mine was celebrating their birthday and this was the perfect gift. To make it more perfect was to create a pouch to take the flask anywhere, and, not to raise suspicion.

Using standard 600 denier pack cloth, like Cordura or similar fabric, would provide the strength and durability required for a product of this variety. A fleece lining would add some padding and insulation; and, at the same time prevent unnecessary scratches to the body of the flask. The use of an overt side-release buckle adds to the tactical style for keeping the flap closed and the flask securely captured in the pouch. The design is very basic and is finished with 3/4" seam binding tape. Using 3/4" webbing a simple belt loop and carabiner loop allow for attaching the pouch to person or pack or vest.
Simple Belt Loop and Carabiner Loop
The plans for this project are included at the end of this post for those who are looking to build their own tactical flask pouch. If you make your own, please, share where you found the plans.

This pouch is made from a piece of pack cloth 5" wide and 15" long, with double thickness for the flap. I had enough fabric to have the pouch and flap as one piece; so, I merely folded and sewed the double thickness and trimmed away the corners. Sew on all the webbing for the side-release buckle, and belt loop/carabiner loop. A Velcro belt loop could have been employed, but, I decided this pouch was more likely to be used with a carabiner. Then, I added a piece of fleece 5" by 10" to line the body of the pouch. Next the edges were finished with seam binding tape. And, finally; the edge seams were sewn together. New tactical flask pouch was ready to go. 

Nothing fancy. Just a practical, simple design. The tailor chalk lines were removed with the heat from a candle. Of course, that was after the quick photo shoot. As this was a gift, I had to capture photos before I gave it to my friend.

Until next time...make a gift for a friend.

Mountainman.

PS - Why has it taken this long to find pre-filled flasks at the liquor store??

Link to building a gear pouch: gear-pouch-2014
Tactical Flask Pouch - Plans (Dec 2019)


30 October 2019

Wireless Mesh Networks & goTenna - The Future Is So Bright, I Need To Wear Shades!!

 It has been a very busy semester at school. The work load is quite a bit larger this term and the one extra course is really taking the wind out of my sail. Regardless, I am learning a lot and it is time to share one of my school projects.

For those of you who are into tech, this project may truly catch your whole interest. For those who are curious about new technology this project may stir your interest. And, those of you who are here with open minds and no fixed interest this may change that...or not.

Wireless Mesh Networks (WMN). What the heck is that? Glad you asked. Think of the internet at the beginning....
 You had to direct dial modem to modem to connect to another computer. Then, eventually you could go online and network with a few folks and eventually millions of other computer users.

Well, WMN, is like that; in that it connects people together. But, it has the ability to create its own network. Devices called nodes are the infrastructure that connect other devices like cellphones together. Until, recently only the military and big corporations had this ability. It cost them hundreds of thousands of dollars per unit.

Welcome, goTenna and the whole goTenna family of products: goTenna, goTenna MESH, Pro, Pro-X.
goTenna lets you connect your cellphone to text message other cellphones that also have a goTenna without cellular service or Wi-Fi or any other internet connection. Let that sink in.

With goTenna, you and your cellphone and your friends with their cellphones and goTennas can go to a concert, festival or to the great outdoors and stay in contact. Imagine being out canoe camping at Bowron Lakes in British Columbia. No power. No cell towers. Spotty satellite reception. However, if each canoe unit had a cellphone and a goTenna you could text between canoes. Not important on a sunny afternoon, but if the weather turns foul and the waves 
 get big enough to swamp or capsize canoes; it is now very important to stay in contact. Not all those canoeing can paddle to the next campsite. Some may have to make for the closest safe harbour and take emergency shelter until the storm passes. Now, your 6 or 8 canoes in your group maybe scattered a few kilometers apart. With the goTenna MESH and cellphone and the required software app you loaded on all phones before the trip; you can now contact each other and ensure everyone is safely ashore. From first to last may be too distant to directly  communicate , but thanks to the nodes your message can "hop" through the other nodes to the person you need to contact.
 That is wireless mesh networking!!

So, even in the most remote places that have no communication infrastructure; you can now decide if you want a network and how big it will be. Realistically, with enough nodes in a given location, you could communicate over an area of bout 16 square kilometers, depending on the topography or terrain and the possible line-of-sight interference obstacles. The good news is, you can float a relay unit in a weather balloon or attach it to a drone in a high orbit to keep everyone in your party connected.
 My school project focuses on using the goTenna Pro-X system to deploy to areas post-disaster to rescue those who are in the danger zone. Disaster Management and Disaster Response Teams would be entering area devastated by disasters and the regular infrastructure for communications are either overloaded or destroyed. These response team will need the capability to communicate between teams and to command centre.

This is very versatile technology and has a huge potential. I encourage further investigation at: https://gotenna.com/
Until next time....Don't be afraid to learn something new!!

Mountainman.
21 August 2019

Veteran's Business Boot Camp #2 - Ottawa 29 October - 01 November 2019

Sunset Yugo 1994 (Photo by V.A. McMillan)

Veteran's Business Boot Camp #2 has just been announced, the VBBC will run from 29 October - 01 November, 2019 in Ottawa, ON. This program is open to Veterans of the Canadian Forces and current serving members. Here is the link to the program details: VBBC #2

I had the distinct pleasure to attend VBBC #1 in Calgary earlier this year. Here is the link to my post on The GOOD Plan Blog: VBBC #1
I highly recommend all CF members who have an interest in being their own boss and running their own company to sign-up and attend this program. I, also, suggest registering early as this program fills up very quickly.

Thanks to Mr. David Howard and The Canadian Legacy Project for providing this opportunity to those who served or serve our nation on the frontline. 

Best success to the new class!

Mountainman

14 August 2019

Dystopian Penny Stock Options For A Cashless Economy - Part Two

Fort William, Ontario - July 2012 (Photo by V.A. McMillan)

Toilet Paper - Popular Trading Item
Zippo Lighter Flints & Fuel
Time to revisit penny stock options for a dystopian cashless economy. Here is the link to part one: Part 1
As you may recall, in the first post the three items suggested were: Strike Anywhere Matches, Tealight Candles and .22 LR Ammo. Now, if you are looking to diversify your dystopian penny stock portfolio I will make a few more suggestions.

In our modern society few appreciate the simplicity and refreshing action of wiping one's butt with nice green leaves. This practice has become a social faux pas. So, in this spirit of staying socially correct, the first item I suggest this time around would be toilet paper. In a SHTF event, it will not take long before toilet paper rises to the top of the "wants" list for those who failed to prepare. Meaning, you will have a willing market for trade. I prefer and recommend toilet paper that is packaged in individually wrapped rolls. 2-ply 450 - 500 sheets per roll is a convenient sized roll. Now your initial investment will be more than when stocking up on matches but your ROI (return on investment) should also be much greater.

And fire made it good! Without fire, we have devolved to before the caveman. Stocking up on items to support the Zippo lighter could be a wise investment. Flints and lighter fluid top my list of items to hold a small supply of for trading. Right now flints for Zippo lighters are quite cheap, less than a dollar for each of those plastic containers in the picture above, which each will hold six (6) flints (although, I believe only 5 are included when you purchase them.)
Fishing Line (& Fish Hooks)
Safety Pins - Large 2" Size

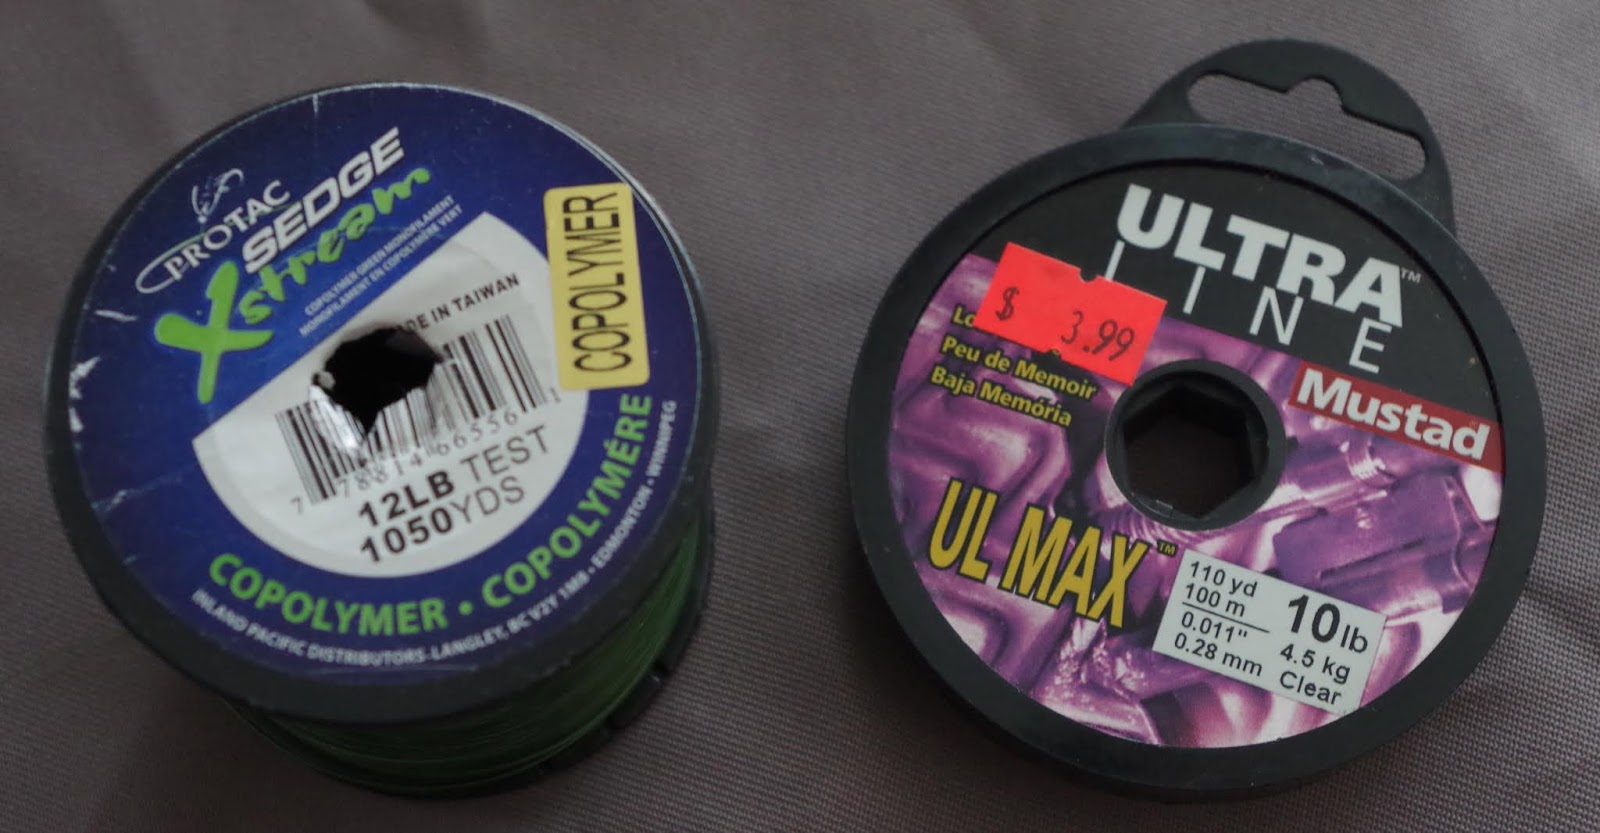
If there is water in your region, then fishing supplies will make for popular trading items with those who failed to be prepared. Fishing line, fish hooks, sinkers and swivels would be good investments. Ten thousand yards of monofilament fishing line would cost less than a carton of cigarettes and would have a better ROI. 

Last item would be the safety pin. When purchased in bulk. these 2" safety pins are very affordable. I do not recommend stocking up by purchasing those small packages at the grocery store. Find a sewing supplier and buy them by the pound or by the hundred or thousand count. If there is a dystopian future waiting for us, not everyone will be practiced at mending their own clothes and gear and safety pins are well known for fixing tears and missing buttons, at least for a short while.

Until next time...think outside the box for the solutions that matter.

Mountainman. 

12 August 2019

Mount Robson & Neighbourhood (2003) - Part Three

Mount Robson - from the Visitor's Centre - July 2003 (Photo by V.A. McMillan)

Falls of the Pool - Berg Lake Trail (July 2003) 

Berg Lake Trail in 2003, the adventure continues. Like in Part One (mount-robson-part-one) and in Part Two (mount.robson_part.two) These are a collection of photos taken along the Berg Lake Trail and areas nearby in July 2003. Waterfalls and Mount Robson being the central focus. 

Camera continues to be a 35mm with a fixed focus running Fuji or Konica film. 

Side trips include Snowbird Pass and Mumm Basin; as well as, a stroll to the far end of Adolphus Lake in Jasper National Park. 

Photo credits: V.A. McMillan and links back to this blog post would be appreciated.

Until next time...capture some snapshots!

Mountainman.
  

Emperor Falls - Berg Lake Trail (July 2003) 


Emperor Falls & Mt. Robson (July 2003)
Emperor Falls - Berg Lake Trail (July 2003)
Rearguard & Mt. Robson from Mumm Basin - July 2003 (Photo by V.A. McMillan)

Mount Robson & Robson Glacier - July 2003 (Photo by V.A. McMillan)
Mount Robson from near Snowbird Pass (July 2003)
Adolphus Lake, Rearguard & Mt. Robson (July 2003)

Berg Lake & Mt. Robson - July 2003 (Photo by V.A. McMillan)