22 February 2016

Tombstone Carryon Sling Pack - Part Two

Tombstone Carryon Front
Another successful weekend.....one Tombstone Carryon Sling Pack completed.

So, to design and make this pack took about 16 hours - +/- 2 hours. Good at thinking up ideas, not so good at keeping track of time. But, now that I have the "real" numbers and pattern, I estimate from start to finish this pack could be made in about 8 - 10 hours - layout, cutting, sewing and finishing.

In the end, I am not totally happy, the weight of the gear in the front pocket has a front heavy balance. As I was trying to design a carryon bag, I used a light design without much structure to support the weight. To be operational, the main bag needs to be mostly full of clothes, poncho liner and another soft fluffly stuff to give the main bag enough structure to support the front pocket.
Tombstone Carryon Right Side

Since a picture is worth a thousand words.....I will stop typing and then get this posted so you can look at the pictures.

Til next time.....make more gear!!

Mountainman.
Tombstone Carryon Rear

Tombstone Carryon Left Side

Tombstone Sketch

Tombstone Carryon Sling Pack

17 February 2016

Tombstone Carryon Sling Pack - Part One

Tombstone Carryon Sling Pack Initial Drawing
 New project for a new year.

Let me introduce the Tombstone Carryon Sling Pack. In part one we will discuss the idea, the layout and the progress to date.

A carry-on bag was needed around here. One that would meet specific needs. The bag had to be sized to meet current carry-on limits for overseas airlines. The bag had to carry and protect field gear that would be to difficult to protect as checked luggage; such as, cellphone, solar panel, and camera. In addition, a certain amount of living gear needed to be carried in the case that the checked luggage was delayed. Thus, the mess kit, kfs (knife, fork, spoon) pouch.
Layout on Fabric

Pattern Page One

Pattern Page Two

Layout of Power/Pen Pocket
 As with most of my designs I begin by sketching a rough drawing of the finished product. Then I determine the dimensions. Then I make the pattern pieces and then transfer the measurements onto the fabric using rulers & carpenter's square & tailor chalk. This pack used a little over 1.5 meters of Cordura Pack Cloth. It has been a good design in that there has been very little leftover scraps.

Once I have chalked all the pieces onto the fabric, I re-check the pattern and confirm I have all the parts needed, thus the little check marks on the pattern.
Mess Kit Pocket

Sling Assembly Complete - Almost
 As this is a working proto-type, I make notes on the pattern, in case I make another pack of the same design - so, future packs are built quicker. Design as you go is not the fastest method, but it does allow me to build packs that fits the gear I have to go in them.

I have now made enough packs, gear bags or gear vests to know what will work for seam allowances or how long to make zippers so you can get your gear in & out, but if you are designing your first project it may take a few tries before it works properly.

The next step is to cutout all the pieces and group them together by part of the pack. 

The first group I tackled was the sling strap. It is pretty straight forward, a wide strap with 1/4" foam padding, seam tape finish and a pouch for a pocket knife on the underside and a cell phone pocket on the outerside. The webbing strap is sewn through both top & bottom fabric and the foam padding. In a worse-case scenario the webbing strap alone will support this sling pack.

The "d" ring on the sling strap will keep your keys handy if you use a carabiner on your keychain.

The cell phone pocket will be top stitched in place once we are sure where it will be mounted - inverted on the topend or standard mounted at the lower-end of the sling strap. 


The next weekend I took on building the front pocket assembly, which included a mess kit pocket, power bank & pen pocket - both of which mounted on the outside of the front pocket. Inside the front pocket is a padded storage area for a Goal Zero Nomad 7 solar panel. On the back of the front pocket is a pouch to store a Goal Zero Guide 10+ recharger unit.

To the right you can see how the pieces are laid out. Tailor chalk is used a lot to mark location and to guide spacing for bartacking webbing. I have a number of common lids to help create rounded corners of different radii. 


To the left is the finished Mess Kit Pocket. 

Oops, the image is upside down. I gues that doesn't matter for the time being.

The mess kit was purchased from Sportsman's Guide dot com. It is compact, tough and light enough for this mission.

The KFS pouch will hold a Spork or most knife, fork, spoon combo's. Because, interactions with TSA is expected this pouch will only have a plastic version carried. Once at destination the metal KFS will be taken out of the checked luggage.

The bottom picture shows the completed front pocket. Look the mess kit pocket is mounted upside right. The front pocket assembly will be sewn at the bottom to the main pack and will have 3 compression straps to secure the top portion of the front pocket to the main pack, as well as, allow the space between the front pocket and the main pack to house a windbreaker or sweater when out sight-seeing. 

I will post again when the main pack is built.

Until next time.......go build some gear!!!

Mountainman.
Front Panel Completed

13 December 2015

Who Hijacked OUR Timeline??

I have been reading Erich von Daniken's book, Chariots of the Gods? ((c) 1969), and it has got me thinking. I believe that was the purpose of his books in the first place, ask questions, lots of questions and hard questions. Those questions were to stimulate the thought process in the reader and hopefully, inspire the reader to ask their own questions and demand some kind of action from those in power.

And my question is: Who Hijacked/Stole OUR Timeline?? As von Daniken observed, in 1969 we, the peoples of the Western World, were on the verge of the greatest adventure ever..........SPACE. We landed astronauts on the Moon and we had ambitions on Mars and possibly Venus. In, Chariots of the Gods? von Daniken expresses the excitement of having mankind on the surface of Mars in the next 12 years.....that should have been 1981.......so, what the heck happened??? Why are we not out exploring at least the region of Space closest to us, our own solar system??

As I grew up in the 1970's, I too, expected NASA to have manned flights to Mars by the time I was old enough to go. But somewhere along the way our destiny got hijacked and our timeline got re-directed. Instead of exploring our solar system, we got iPhones, iPads, BIG SCREEN TV's, the internet & Facebook. These are just great.....they numb the thinking process for 10 - 16 hours a day. The average resident of planet Earth is an electronically pacified drone.....mindlessly, drifting through time & space, all the while selfishly numbed to the world around them. The remaining Earthlings are equally distracted by bullshit topics like Global-warming or tragedic topics like war. For all our potential as an intelligent species, we are collectively, easy to distract. Give us the lastest LED screen and the fastest gaming platform and for a few hours/days/weeks/years we do not care what is happening elsewhere. So, what happened??

Somewhere along the way, the collective "WE" got adverse to risk. It would look to me, that started to happen in the late 1980's. Once "we" lost our spirit for adventure and the quality of entertainment started to improve, "we" forgot about exploring - Space or anywhere else for that matter. Now those in power are so adverse to risk, we are unlikely to ever see any great advancements in technology. No more break throughs in medicine. No more break throughs in science. No more break throughs in transportation. No more break throughs in energy production. Without a higher purpose to channel our collective thoughts, we are only going to see more gadgets to entertain us for a bit or war & strife to punish us. When will 'WE" get our adventurous spirit back?? Where will "WE" explore next??

The purpose of this post is to challenge the status quo, there are answers but they come from you. What are you willing to risk to join the greatest adventure?? Who are you going to ask, "Why are we not out exploring Space??" "Why do we not have a base on Mars??" 

So, the next time you are thinking.....hey, what is wrong on this planet??
Go to a quiet place, look up into the Heavens and observe all those stars,
Twinkling. The answer may just come to you.

Until next time,
Don't be afraid to think for yourself!!

Mountainman.


01 December 2015

Social Engineering: Bracken's Take On This Subject

Howdy Folks,

I have just be directed to review the following post:

https://westernrifleshooters.wordpress.com/2015/11/29/bracken-tet-take-two-islams-2016-european-offensive/

Mathew Bracken seems to have researched this topic much deeper than I have and his essay (link above) translates my gut feelings into words. Not my words, but I would like to believe when more than one person share similar thoughts/feelings about world events, it is no longer a wild delusion. Social Engineering.....the downfall of Western Civilization?? Only time will tell.

Keep informed folks,

The times, they are a changin'

Mountainman.

19 November 2015

Social Engineering - Transforming Folks Against Their Will

Time to get some thoughts out on paper, errr, computer screen. It has been a busy time of late. The world as we know it, continues to morph into something new. Which, segways nicely into what I am pondering at this time - Social Engineering.

Social Engineering:

Social Engineering is a discipline in social science that refers to efforts to influence popular attitudes and social behaviors on a large scale, whether by governments, media or private groups...........For various reasons, the term has been imbued with negative connotations. In British and Canadian jurisprudence, changing public attitudes about a behaviour is accepted as one of the key functions of laws prohibiting it. Governments also influence behavior more subtly through incentives and disincentives built into economic policy and tax policy.........( https://en.wikipedia.org/wiki/Social_engineering_%28political_science%29 )

There, thanks Wikipedia for a basic definition, now we have the ground level covered........so, let's move on.

The transforming of peoples against their will and mostly by methods they do not recognize, social engineering has been around a long time. But, I am not a historian, and I am most interested in how our world, in our time has been changed. Starting with a review of what was taught in school a few decades back, subjects like Western Civ, were common in many high schools. And then somewhere along the way it became offensive for kids to learn about Western Civilization. I, personally, believe each citizen of planet Earth should know who their parents are and where they came from. So, I find it hard to understand why teaching children (who came from Europe and immigrated to the Americas (North, Central and South)) where they came from and the challenges and achievements that were made by their ancestors. It was not a mandatory course, so why were folks offended. If you did not come from Europe, don't take the course.....that's what is allowed in a free society. But, I think there may be a more sinister plot behind the removal of Western Civ from the curriculum. We are told, those who forget their history are doomed to repeat it ( George Santayana - https://www.nationalchurchillmuseum.org/blog/churchill-quote-history/ ) Not the direct quote, but words I have heard many times. So, the quickest way to change thinking is to remove a source of knowledge. So, those in power of the school boards, make the decision to remove Western Civ, thus the offended parties can be pacified. But, the social engineering is not finished with this step. 

The next modification is the raising of importance of other cultures in the same schools. On its own this seems reasonable.........except, all cultures are not represented. Those who have come from European sources have lost their cultural education, because Western Civ has been dropped as a course option. 

Then, the text books which explained why, where and when events in the largest conflicts in recent world history start to get watered down or worse re-written and events are debated in class out-of-context and heros are made into villians......we have a problem. (Personal opinion of modern textbooks)

In short, the current education process seems to be "dumbing-down" our society. Problem solving and critical thinking are frowned upon. The NEW math - the experience of working on mathmatical problem is more important than finding the correct answer. Whiskey Tango Foxtrot, over!!! When these kids get into the workforce, they are in for a world of hurt. Bosses do not except the employee experiencing a warm fuzzy feeling when they are part of inventory. The boss wants an accurate accounting of every single item on hand at the exact time the inventory is being held. Close is not enough. Why are we letting the "system" screw-up our kids???

Now let's look at big picture stuff........where we live, work and play. Since the end of World War Two, in Canada, we as people have moved from the rural, into urban areas. This is not by chance. Slowly, through advertisement/commericialism the daily brainwashing progressed over the radiowaves, then TV and now the Internet.....about how good city life is, how it is easier to live and buy goods in the city and how the "in" crowd lives in the city not out in the country. What few noticed was what was being given up. In the city, few had their own garden, or chickens, or cows or pigs. If you wanted fresh veggies; you had to go to the store. If you wanted eggs; you had to go to the store. If you wanted milk; you had to go to the store. Once, most folks were programmed to go to the store, then they started to slowly jack up the prices. Wages were low and higher food prices keep the average person enslaved at their jobs. No more time to play. Who could afford it.

Now we find ourselves on the brink of a new change, okay not a new change, but certainly a change for us. The world continues to fight amongst its peoples and some are displaced. To keep the average folks distracted and exhausted, the best enemy ever in the history of warfare has been created - The Terrorist. They do not wear uniforms. They do not represent countries. They do not fight by the rules of land warfare. Thus, the powers that be, can proclaim any incident to be the work of terrorists, thus keeping the fear level very high. In times like these, folks can be persuaded to surrender their freedoms in exchange for security. Now, you get a democratic dictatorship........why would you give up freedom???? 

I will have to continue this another time.

Remember the past and prepare for the future!

Mountainman.

23 August 2015

Gear Taco for Goal Zero Nomad 7 Solar Panel

Solar Gear Taco & Goal Zero Nomad 7
Need a Summer project?? Happen to have a Goal Zero Nomad 7 Solar Panel set?? Not totally comfortable of just strapping the Nomad 7 on your pack and smashing off through the bush??

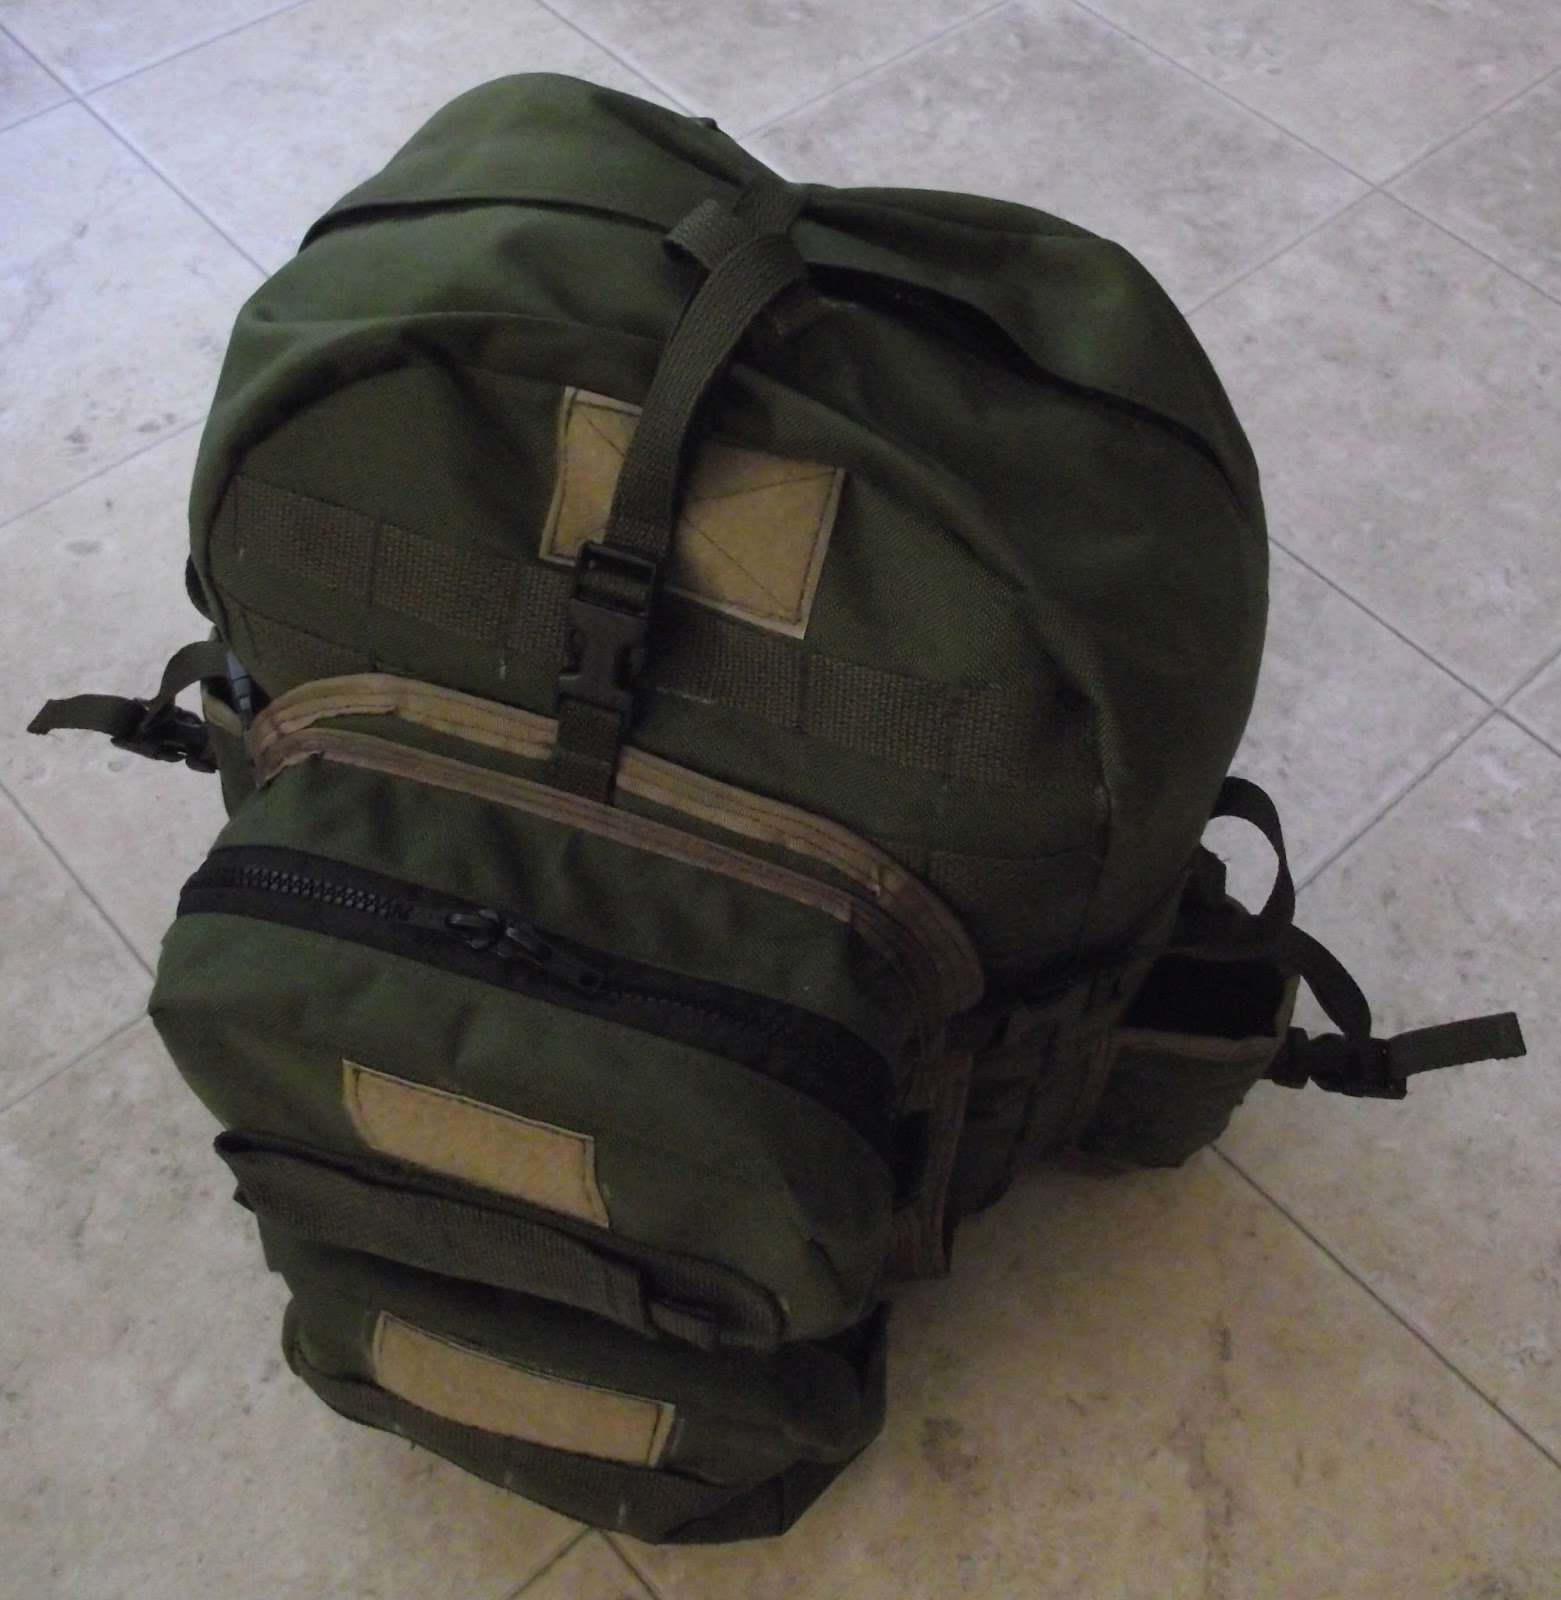
Well, today is your lucky day!! I have just designed and built a solution to protecting your Goal Zero investment. The Solar Gear Taco.....now, the taco gear pouch is not my idea exclusively, there are a few companies out there that build mag pouches and phone pouches that also use the taco design. The taco is recognized by the fact that there are no side panels to the pouch. The pouch is held closed on the sides by bungie cord or para-cord that lace through loops down each side of the pouch.

My Solar Gear Taco just happens to be sized to fit and work with the Goal Zero Nomad 7 Solar Panel Set. These solar panels are tough and weather resistant in their own right, but I cannot trust myself to remember I have breakable items strapped to my ruck.....thus, I needed to add another layer of protection.

I like the taco design, because it speeds up construction and allows for custom sizing. So, let's have a look at this a bit closer.

Fleece Solar Panel Protector
Goal Zero Nomad 7 Solar Panel Set

Goal Zero Guide 10+ & Nomad 7

The Solar Gear Taco allows for straight forward design and construction, you are basically making a single padded panel.....now I wanted a bit more weatherproofing so I added a flap over the top, that could be omitted.

Also, I employed MOLLE styled webbing, front & rear, to enhance the loops needed for lacing the pouch together. These MOLLE patches can have other pouches added to the Solar Taco, as well as, use MOLLE connectors to attach to a rucksack or other system using MOLLE.
Solar Gear Taco - Front View

The overall size is 7 1/2" wide x 23" long (open size) + the flap. When laced together we maintain the 7 1/2" width but reduce the height to just over 10 1/2". Pretty compact. 
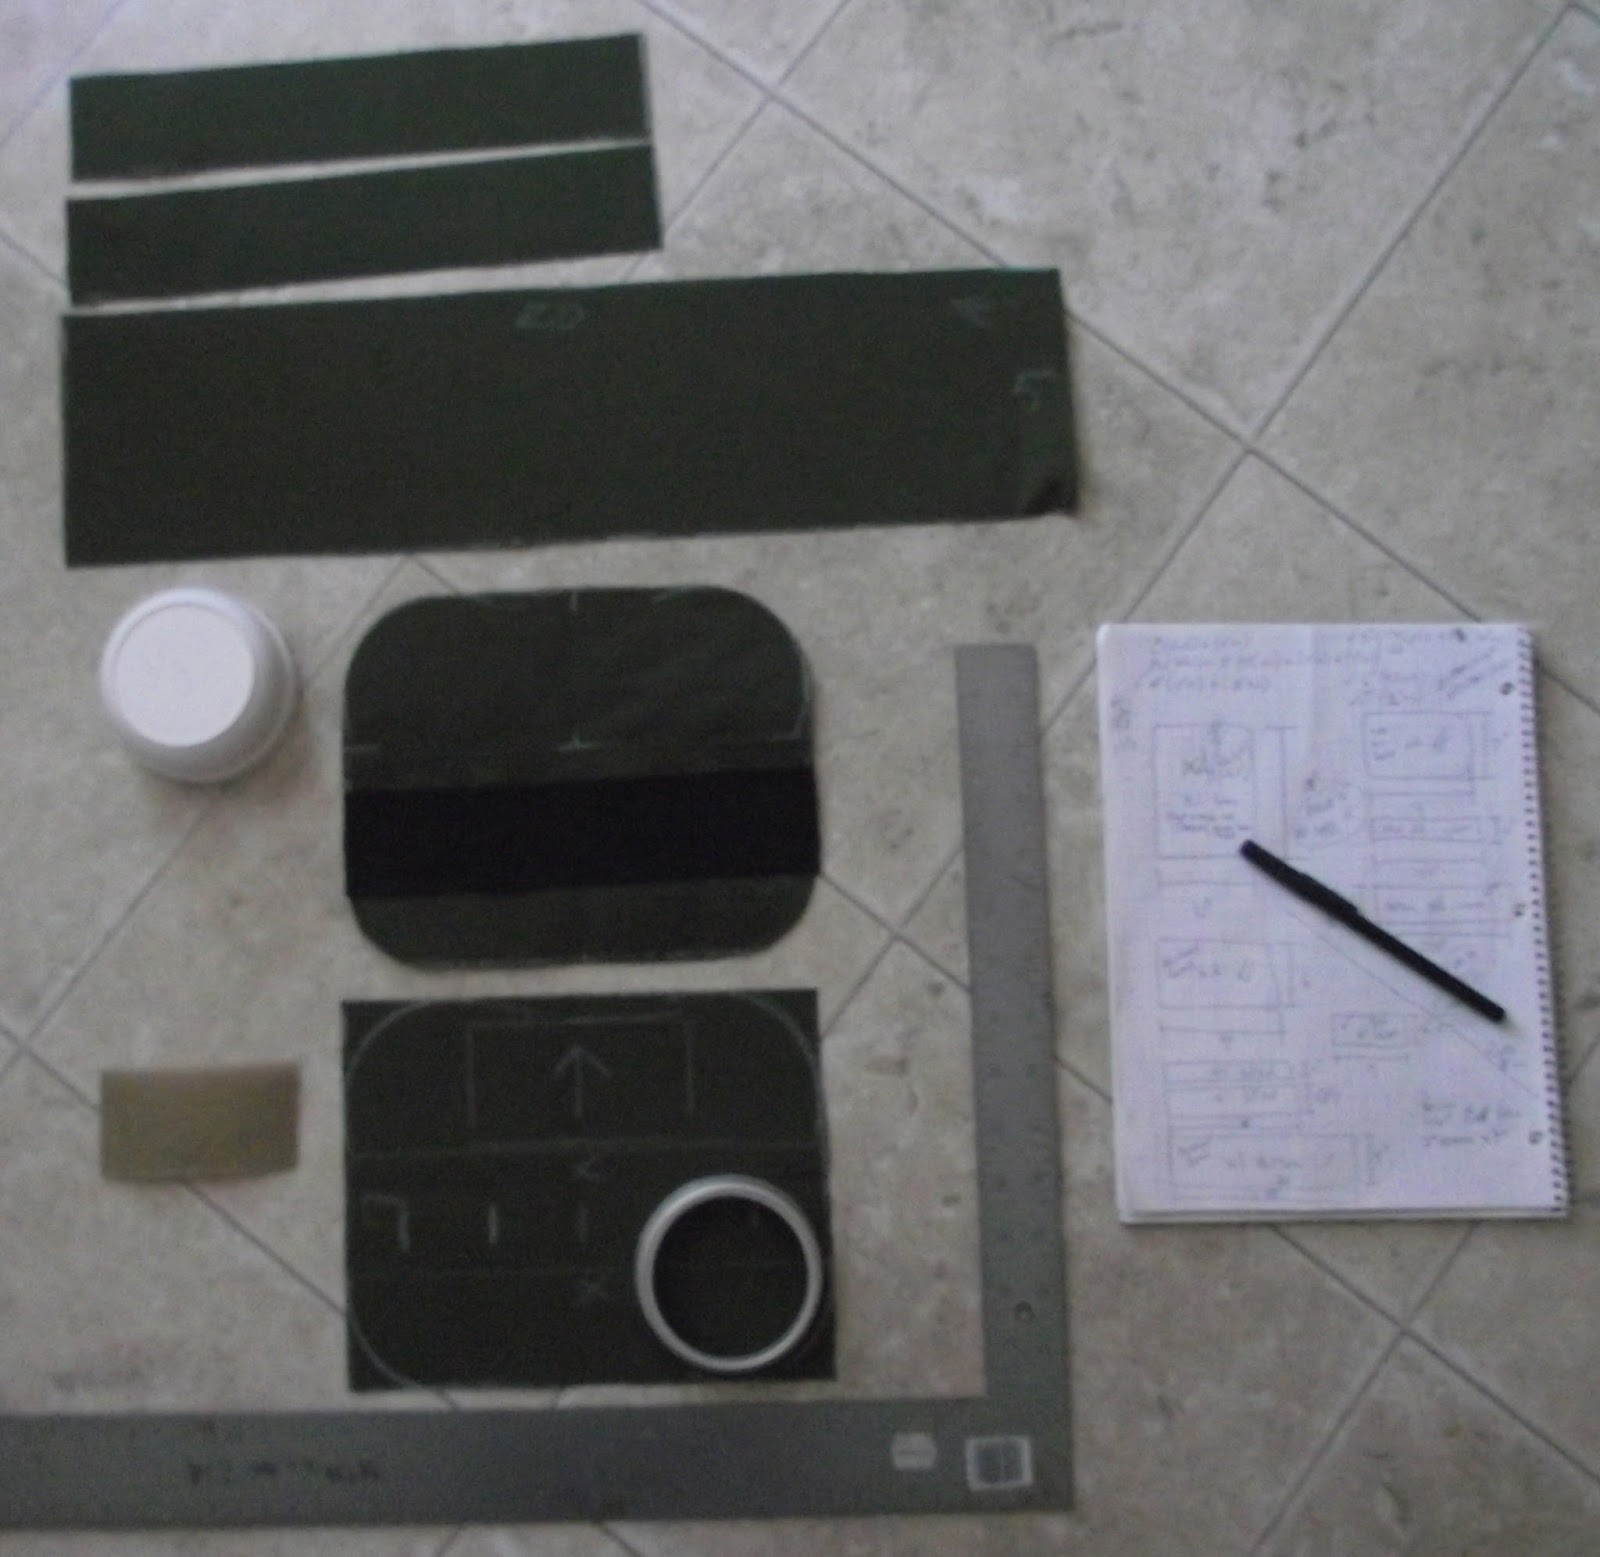


Link to Goal Zero: http://www.goalzero.com/


As for components: 

Outer fabric (7.5"x23") require one
Inner fabric (7.5"x23") require one
Flap (7.5"x4") require two

Foam padding (1/4"x6.5"x9.5") require two
Foam padding (1/4"x1.5"x5") require one

Webbing (1" x 12") require seven
Webbing (3/4" x 12") require two
Webbing (3/4" x 3") require two

Draw cord/para-cord (24") require two
Side release buckle (3/4") require two
Cord Lock - require two 

Seam Tape (3/4")  +/- 60"

Solar Gear Taco - Rear View

Solar Taco Plan

Construction tips:

1) After cutting out all pieces, group together by purpose.

2) Attach 1" webbing to the outer fabric. Webbing for MOLLE style patches.....front, start 2" down from the top of the front panel. Chalk lines every 2", you need 4 lines.Place webbing against the line, and this will leave the 1" spacing for the MOLLE to work. Starting at the centre, sew bartacks at 1.25" spacing working out from centre toward the side edges. Rear MOLLE patch start 3" down from the top and chalk lines every 2", you need 3 lines. The end loops will get finished near the end of the project after the seam tape has finished the side seams. DO NOT sew the loops down before the seam tape....I only made that mistake once, oops.

3) Join the outer piece to the inner fabric - bad side to bad side. Sew down the right side seam using the edge of the sewing foot as your guide for seam allowance. Repeat with a zig-zag closer to the open edge. Finish by top stitching the seam tape in place. Avoid the tailends of webbing.

4) Measure down 10 1/2" from each end, chalk a line. Top stitch along this line. This should build a 2" pocket in the fabric panel across the short axis. Insert small piece of foam.

5) Repeat side seam process for the left side of the fabric panel.

6) Measure, cut and assemble the top flap. Tip: Mark the centre points. Measure from centre 7.5" on the lower edge and 5.5" on the upper edge. Chalk a line from the 5.5" to the 7.5" on each end, you should get a bevel angle. Cut out. Pin to second piece and cut to match. Assemble 3" piece of 3/4" webbing through female side of 3/4" side release buckle, fold webbing in half, if needed tack in place with a row of stitches. Layout fabric pieces goodside to goodside, insert buckles with webbing tail extending beyond the top of the fabric. Sew around the edges of the fabric piece, keeping the buckles as straight as possible. repeat around the edge with a zigzag stitch. Invert, so badsides are to badsides, top stitch around edge. Bartack over the webbing tails.

7) Insert large foam pieces. Top stitch the openings closed. Zigzag. On the top of front panel finish with seam tape. The rear panel add the flap and then finish with the seam tape. 

8) Bartack 1" webbing ends into loops. Sew through the seam tape on the sides of the panel.

9) Next attach the 3/4" webbing (12") by top stitching at the seam 10.5" down from the top. Line up the webbing so it will lace up through the MOLLE patch. Weave the webbing through the 3/4" side release buckle - male end. Fold webbing over and sew, so that the tail cannot unweave through the buckle.

10) Lace the cord through the loops up the sides. Insert the cord locks, one for each side. Tye-off the cord using a double fisherman's knot. Tuck extra cord into the webbing on the rear MOLLE patch.

Final tip: Use a flame/candle to melt all webbing ends, cord ends and seam tape ends; so, they will not fray and unravel. 

That's it, your done.

Get out there and use your gear!!

Mountainman.

PS - I cut a piece of polar fleece to keep the two solar panels from grinding into each other. 


16 July 2015

BOV Show & Shine 2015

It is time to motor your BOV to a show & shine.
If you happened to miss last year's Bring Out Your BOV Show & Shine in Langdon, AB; now is your chance to get together with other like-minded folks and talk shop!!
Fire an e-mail RSVP to the folks at Briden Solutions, so they know how much food to have on hand for lunch.
Hope to see you there,

Mountainman.