13 March 2016

Cubist Escape Sling Pack - Part Two

Fold in Half, Sew Foam in Place
 Here we are again. Part Two of The Cubist Escape.

Made more progress than I hoped I was going to achieve today. So, you get rewarded, too. Two posts in the same day.

We left off with the large piece of fabric with Velcro loop and 1" webbing sewn to host MOLLE pouches or pockets. The next step was to cut foam to insert into the folded piece of fabric. After the foam was secured in place, any excess was trimmed off. Next the corner seams were top-stitched to help the corners form. Then, the major side seam was sewn closed and select corner seams were top stitched again to create more defined.
Sew Up Side Seam

Centre Bottom Panel
Next the lower shoulder strap anchor was sewn together and then added to the edge of the pack. Centred so the pack can be used slung over either the left or right shoulder.

The bottom panel (10"x10) was centred and sewn to the bottom. Now that the pack is taking shape, sewing becomes more difficult. A helper is sometimes needed, when you need a third hand.

Then the major side seam and the bottom seams were finished in seam tape. Now they look real nice and professional.

Next on the construction list is building the top flap.More 1" webbing sewn to MOLLE spacing. And a pocket added to the underside. Seam tape to finish the edge seams around the top flap. Non-separating zippers attached on the left and right sides. Velcro hook and a Canadian flag added to the front of the flap. Also, a bit of top stitching to give the front edge some form.

Before attaching the top flap, the shoulder strap needed to be built. This time we are working with a longer strap, about 27" long. Still, have 1" webbing on the topside, but I omitted the 2" webbing from the underside. Weight is beginning to be an issue here. A utility/knife pocket was added to the underside, just because. Then padding material was added and then top& bottom were sewn together. Finished with seam tape.
Finish Seams With Seam Tape

Top Flap

Shoulder Strap

Major Components Complete

End of Day Two

Next the shoulder strap was sewn in place at the top of the back panel. Then the fun began.....the top flap.

As I suspected, once the pack was taking form, it would become more difficult to sew. I was not let down. It was a bit of a wrestling match to get the zippers sewn to the top of the left and right  sides. I did the best I could, not perfect.......but, operational.

The last success of this day, was the strap to connect the shoulder strap to the anchor. Just a piece of 1" webbing about 26" long. A 1" plastic snap hook was sewn to one end. Then the other end was fed through the 1" Super Lock Buckle on the shoulder strap and sewn in a loop that cannot return through. 

In part three, I will tackle specialty pockets for: Solar Panel, water bottles and anything else I may have forgotten. 

Until next time.....don't let a good day prevent you from posting twice on your Blog!!

Mountainman.

Cubist Escape Sling Pack - Part One

First Design Page

More Details
So, I have not had enough time to complete this pack yet, but it is slowly coming together.

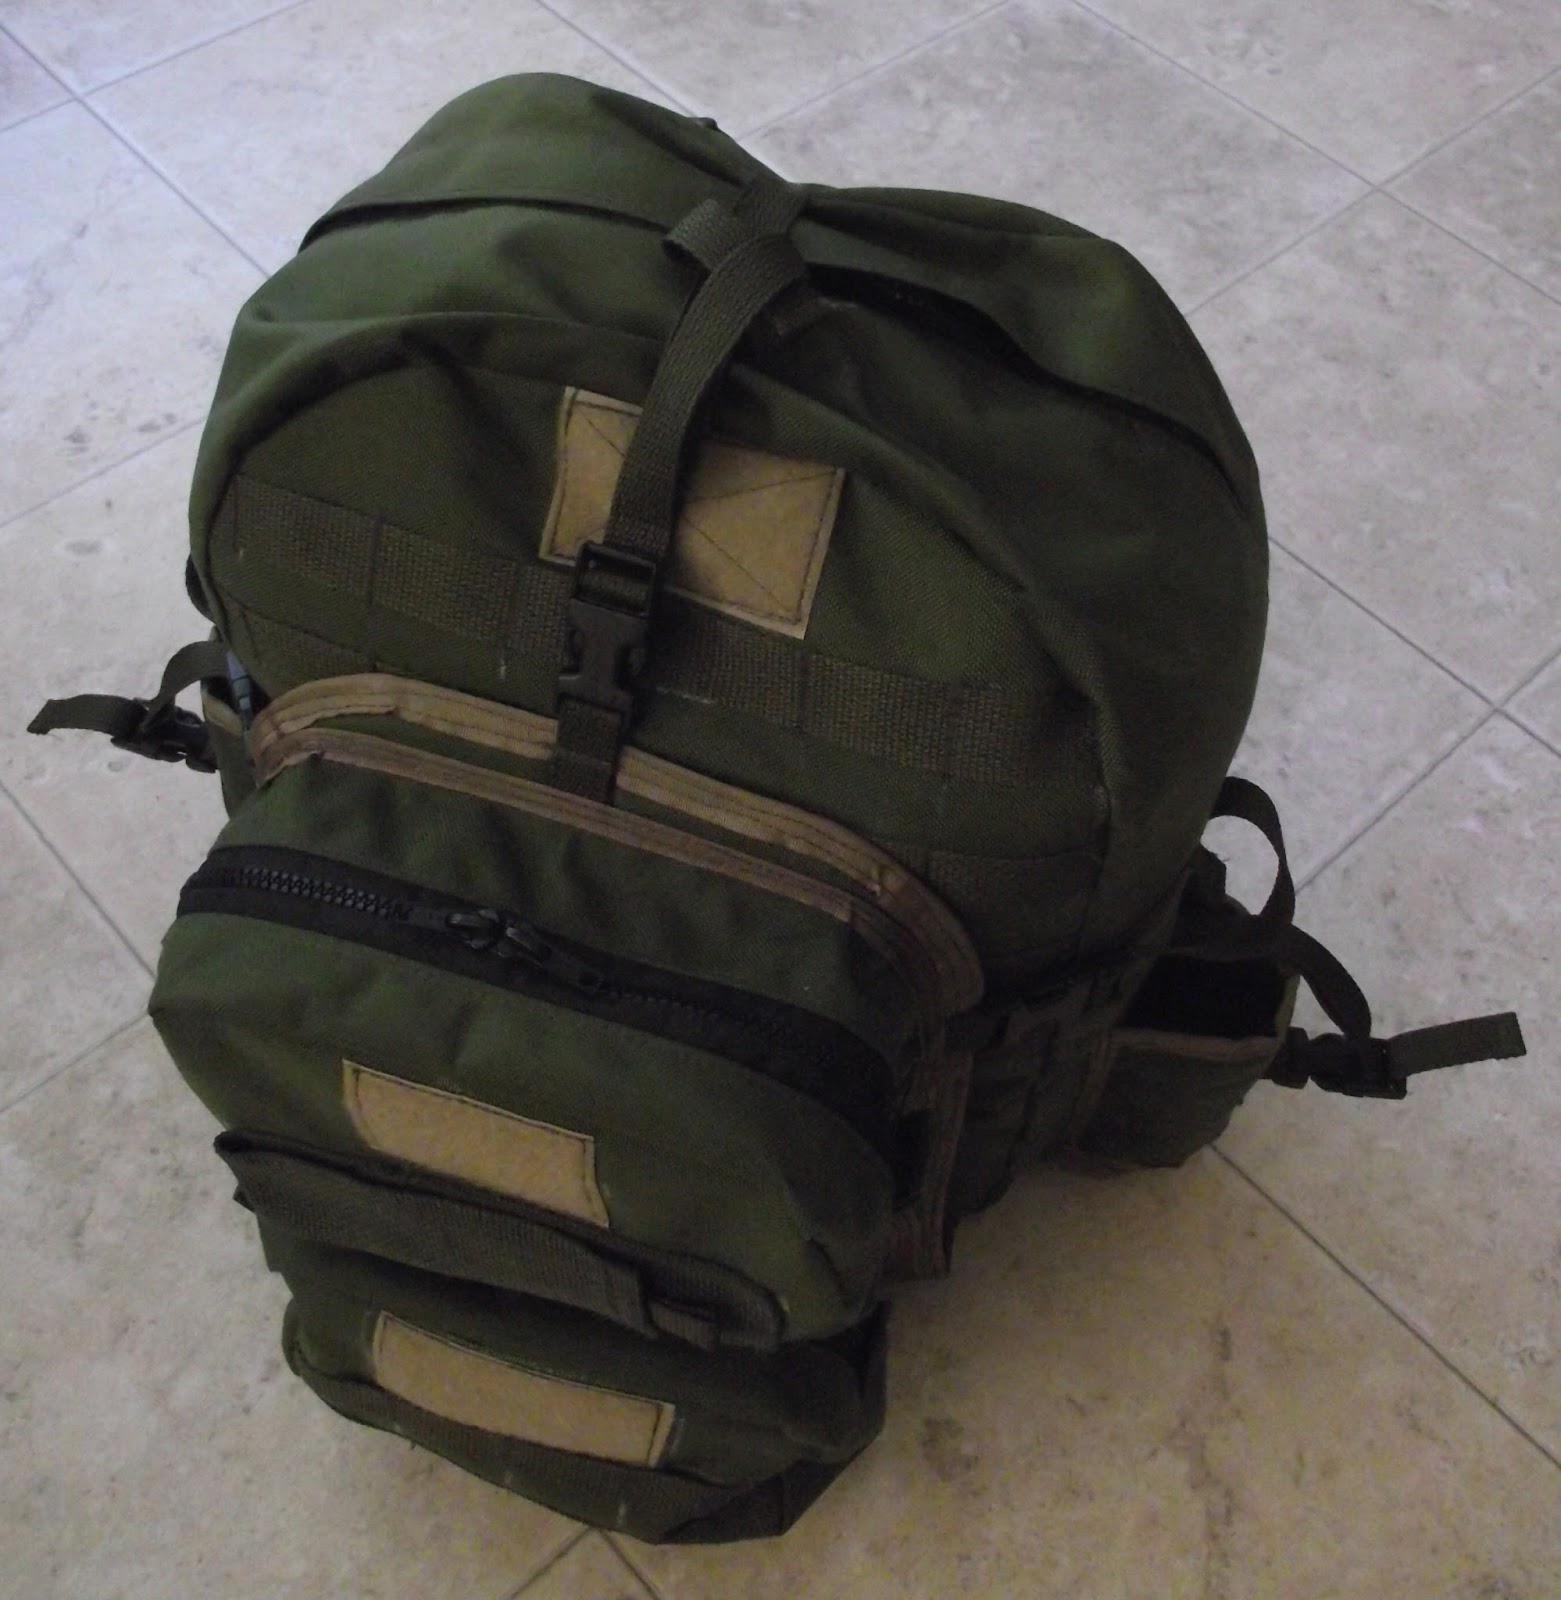
This is the Cubist Escape Sling Pack. It will be in the running to be used as a carryon bag for a future adventure. The Cubist Escape will be paired with a complimentry, removeable mini-pack called the Bailout Cube. Together, these two packs will be 9"x9"x27". The Cubist Escape will be 9"x9"x18" and the Bailout Cube will be 9"x9"x9". 

My intention with this sling pack is to get the solar panel unit inside the pack & close to the back. The solar panel unit will help provide structure to the pack, while the pack provide protection to the solar panel. 

Other items that will go in or on the Cubist Escape will include: A poncho liner(Ranger Blanket), a full change of clothes - zip-off pants, shirt, underwear & socks; as well as, other bulking items. Water bottle holders will attach on the exterior. 

Speaking of attaching.....this pack has a lot of MOLLE style webbing straps to anchor many MOLLE type pockets or pouches. My original idea was to have 7x 1" webbing strips surround the pack, but after cutting and attaching 6x 1" webbing strips, I decided weight was becoming an issue. Not a good idea to make a carryon bag too heavy.

You might have noticed that this pack does not have many pieces....And, you would be correct. I have a one piece design to be the outside, inside - front, back, left & right. This pack will have one major seam not counting the bottom seams. The top will attach via: zippers, velcro, side-release buckles and one sewn seam. I have also designed this pack to work either slung over the left or right shoulder. Time will tell if this works as planned.
More Planning
 I will again try to utilize a wide shoulder strap with a minor taper. The cell phone pouch will again be attached to the shoulder strap. 

Initial design idea is to have a long should strap so the Bailout Cube can be temporarily attached to the Cubist Escape for boarding aircraft. Once on board the Bailout Cube can be detached and utilized during the flight, while the Cubist Escape is safely stowed in the overhead bin.

That is all for now. I will update as progress is made.

Until next time.....if your first try does not make you happy. Design & build a new pack!!

Mountainman.
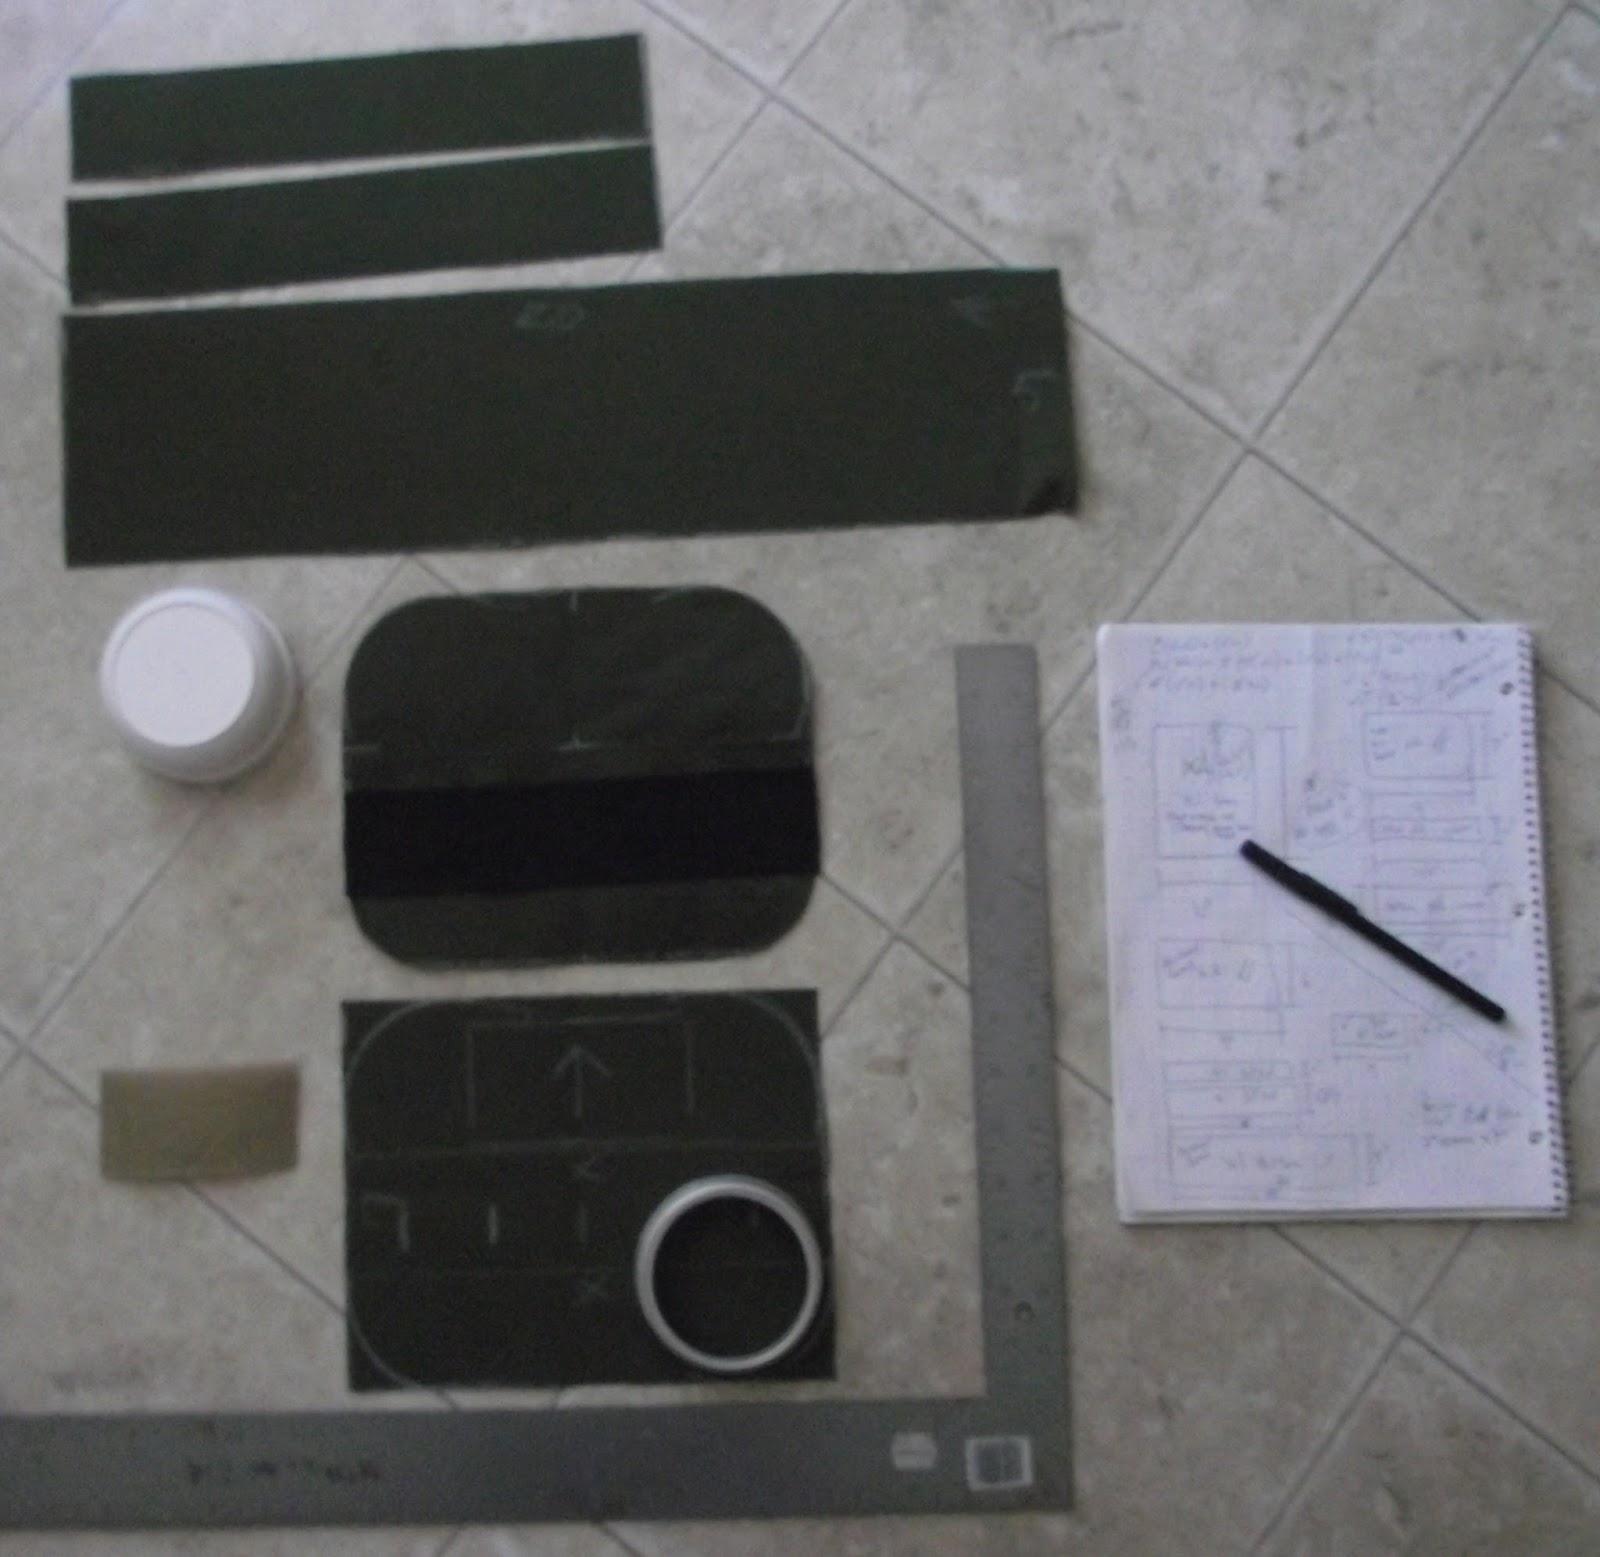
Enough Final Detail to Work With

Chalked Design on Fabric

One Piece Will Become Inside & Outside - Front, Back, Left & Right Sides

10 March 2016

Mountainman's Clipart

Traveler

Adventurer

Photographer
I was working on a side project last weekend, which resulted in needing some images. So, in Mountainman fashion, I had to draw them myself....can't contract out these kinds of projects. 

All of these images were drawn, in some places with the aid of a straight edge, by hand on grid paper. Initial stage was drawn and corrected with pencil, before the final stage was inked in. Then the rough drafts were scanned and made into JPEG images. 

These new JPEG's were opened in MS Paint and all the tell-tale grid lines were erased. And in some places, lines were darkened. The images were then opened in an open document program and sized down, printed and scanned again. 

I am happy with the quality of the finished images. If anyone wishes to "borrow" these images for their own project, I do not mind so long as image credit is given to me. And a link to this Blog is given in the source bibliography. If credit is given, you have permission. No credit to the artist = stealing. 

Until next time.....if you need something done,
Get off your butt and do it!!!

Mountainman.

22 February 2016

Tombstone Carryon Sling Pack - Part Two

Tombstone Carryon Front
Another successful weekend.....one Tombstone Carryon Sling Pack completed.

So, to design and make this pack took about 16 hours - +/- 2 hours. Good at thinking up ideas, not so good at keeping track of time. But, now that I have the "real" numbers and pattern, I estimate from start to finish this pack could be made in about 8 - 10 hours - layout, cutting, sewing and finishing.

In the end, I am not totally happy, the weight of the gear in the front pocket has a front heavy balance. As I was trying to design a carryon bag, I used a light design without much structure to support the weight. To be operational, the main bag needs to be mostly full of clothes, poncho liner and another soft fluffly stuff to give the main bag enough structure to support the front pocket.
Tombstone Carryon Right Side

Since a picture is worth a thousand words.....I will stop typing and then get this posted so you can look at the pictures.

Til next time.....make more gear!!

Mountainman.
Tombstone Carryon Rear

Tombstone Carryon Left Side

Tombstone Sketch

Tombstone Carryon Sling Pack

17 February 2016

Tombstone Carryon Sling Pack - Part One

Tombstone Carryon Sling Pack Initial Drawing
 New project for a new year.

Let me introduce the Tombstone Carryon Sling Pack. In part one we will discuss the idea, the layout and the progress to date.

A carry-on bag was needed around here. One that would meet specific needs. The bag had to be sized to meet current carry-on limits for overseas airlines. The bag had to carry and protect field gear that would be to difficult to protect as checked luggage; such as, cellphone, solar panel, and camera. In addition, a certain amount of living gear needed to be carried in the case that the checked luggage was delayed. Thus, the mess kit, kfs (knife, fork, spoon) pouch.
Layout on Fabric

Pattern Page One

Pattern Page Two

Layout of Power/Pen Pocket
 As with most of my designs I begin by sketching a rough drawing of the finished product. Then I determine the dimensions. Then I make the pattern pieces and then transfer the measurements onto the fabric using rulers & carpenter's square & tailor chalk. This pack used a little over 1.5 meters of Cordura Pack Cloth. It has been a good design in that there has been very little leftover scraps.

Once I have chalked all the pieces onto the fabric, I re-check the pattern and confirm I have all the parts needed, thus the little check marks on the pattern.
Mess Kit Pocket

Sling Assembly Complete - Almost
 As this is a working proto-type, I make notes on the pattern, in case I make another pack of the same design - so, future packs are built quicker. Design as you go is not the fastest method, but it does allow me to build packs that fits the gear I have to go in them.

I have now made enough packs, gear bags or gear vests to know what will work for seam allowances or how long to make zippers so you can get your gear in & out, but if you are designing your first project it may take a few tries before it works properly.

The next step is to cutout all the pieces and group them together by part of the pack. 

The first group I tackled was the sling strap. It is pretty straight forward, a wide strap with 1/4" foam padding, seam tape finish and a pouch for a pocket knife on the underside and a cell phone pocket on the outerside. The webbing strap is sewn through both top & bottom fabric and the foam padding. In a worse-case scenario the webbing strap alone will support this sling pack.

The "d" ring on the sling strap will keep your keys handy if you use a carabiner on your keychain.

The cell phone pocket will be top stitched in place once we are sure where it will be mounted - inverted on the topend or standard mounted at the lower-end of the sling strap. 


The next weekend I took on building the front pocket assembly, which included a mess kit pocket, power bank & pen pocket - both of which mounted on the outside of the front pocket. Inside the front pocket is a padded storage area for a Goal Zero Nomad 7 solar panel. On the back of the front pocket is a pouch to store a Goal Zero Guide 10+ recharger unit.

To the right you can see how the pieces are laid out. Tailor chalk is used a lot to mark location and to guide spacing for bartacking webbing. I have a number of common lids to help create rounded corners of different radii. 


To the left is the finished Mess Kit Pocket. 

Oops, the image is upside down. I gues that doesn't matter for the time being.

The mess kit was purchased from Sportsman's Guide dot com. It is compact, tough and light enough for this mission.

The KFS pouch will hold a Spork or most knife, fork, spoon combo's. Because, interactions with TSA is expected this pouch will only have a plastic version carried. Once at destination the metal KFS will be taken out of the checked luggage.

The bottom picture shows the completed front pocket. Look the mess kit pocket is mounted upside right. The front pocket assembly will be sewn at the bottom to the main pack and will have 3 compression straps to secure the top portion of the front pocket to the main pack, as well as, allow the space between the front pocket and the main pack to house a windbreaker or sweater when out sight-seeing. 

I will post again when the main pack is built.

Until next time.......go build some gear!!!

Mountainman.
Front Panel Completed

13 December 2015

Who Hijacked OUR Timeline??

I have been reading Erich von Daniken's book, Chariots of the Gods? ((c) 1969), and it has got me thinking. I believe that was the purpose of his books in the first place, ask questions, lots of questions and hard questions. Those questions were to stimulate the thought process in the reader and hopefully, inspire the reader to ask their own questions and demand some kind of action from those in power.

And my question is: Who Hijacked/Stole OUR Timeline?? As von Daniken observed, in 1969 we, the peoples of the Western World, were on the verge of the greatest adventure ever..........SPACE. We landed astronauts on the Moon and we had ambitions on Mars and possibly Venus. In, Chariots of the Gods? von Daniken expresses the excitement of having mankind on the surface of Mars in the next 12 years.....that should have been 1981.......so, what the heck happened??? Why are we not out exploring at least the region of Space closest to us, our own solar system??

As I grew up in the 1970's, I too, expected NASA to have manned flights to Mars by the time I was old enough to go. But somewhere along the way our destiny got hijacked and our timeline got re-directed. Instead of exploring our solar system, we got iPhones, iPads, BIG SCREEN TV's, the internet & Facebook. These are just great.....they numb the thinking process for 10 - 16 hours a day. The average resident of planet Earth is an electronically pacified drone.....mindlessly, drifting through time & space, all the while selfishly numbed to the world around them. The remaining Earthlings are equally distracted by bullshit topics like Global-warming or tragedic topics like war. For all our potential as an intelligent species, we are collectively, easy to distract. Give us the lastest LED screen and the fastest gaming platform and for a few hours/days/weeks/years we do not care what is happening elsewhere. So, what happened??

Somewhere along the way, the collective "WE" got adverse to risk. It would look to me, that started to happen in the late 1980's. Once "we" lost our spirit for adventure and the quality of entertainment started to improve, "we" forgot about exploring - Space or anywhere else for that matter. Now those in power are so adverse to risk, we are unlikely to ever see any great advancements in technology. No more break throughs in medicine. No more break throughs in science. No more break throughs in transportation. No more break throughs in energy production. Without a higher purpose to channel our collective thoughts, we are only going to see more gadgets to entertain us for a bit or war & strife to punish us. When will 'WE" get our adventurous spirit back?? Where will "WE" explore next??

The purpose of this post is to challenge the status quo, there are answers but they come from you. What are you willing to risk to join the greatest adventure?? Who are you going to ask, "Why are we not out exploring Space??" "Why do we not have a base on Mars??" 

So, the next time you are thinking.....hey, what is wrong on this planet??
Go to a quiet place, look up into the Heavens and observe all those stars,
Twinkling. The answer may just come to you.

Until next time,
Don't be afraid to think for yourself!!

Mountainman.


01 December 2015

Social Engineering: Bracken's Take On This Subject

Howdy Folks,

I have just be directed to review the following post:

https://westernrifleshooters.wordpress.com/2015/11/29/bracken-tet-take-two-islams-2016-european-offensive/

Mathew Bracken seems to have researched this topic much deeper than I have and his essay (link above) translates my gut feelings into words. Not my words, but I would like to believe when more than one person share similar thoughts/feelings about world events, it is no longer a wild delusion. Social Engineering.....the downfall of Western Civilization?? Only time will tell.

Keep informed folks,

The times, they are a changin'

Mountainman.